

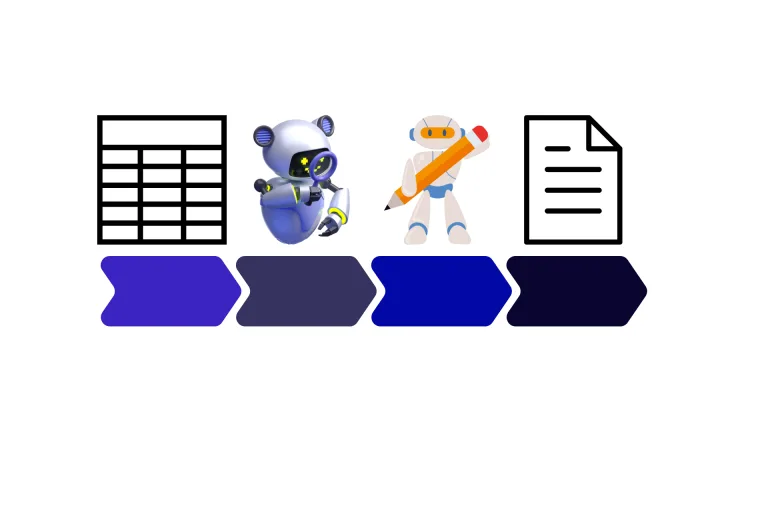
In this article, you’re going to learn how to build a make.com automation that can be used to generate first drafts of top-of-funnel content in your company’s voice with one click.
While that might not sound groundbreaking with all the hype around AI, here’s why you should keep reading:
- It is not an overpromise/underdeliver.
- It is a stepping stone to creating bigger, better automations – such as one that pulls from transcripts of interviews with SMEs (and more) to generate first drafts of thought leadership content!
But let’s take it one step (or a few, depending on how you count!) at a time.
Even if you’ve never built an automation before, this article can help you get your first one up and running in under an hour.
If you run into any issues, skip to the last section for advice on troubleshooting.
Create a Google Sheet
Create a Google Sheet with a column for H1s. Enter random H1s in the next few rows for our tests (which will happen later).
I also created columns for Guidelines and Insights. We won’t be pulling from those columns in this automation, but for future reference, you can create several columns for other inputs.

Go to Make.com
Now let’s go to make.com
Create an account and start by creating a new scenario.
Google Sheets module
Pick Google Sheets ➡️ Watch New Rows

Next you click under Spreadsheet ID and add your spreadsheet & pick the name of the sheet.

Scroll down a bit and enter “1” for limit so the scenario runs on only one row when we click “Run once” later (feel free to increase the limit in the future when you are a pro and running batches of articles!)
Perplexity module
Next we add Perplexity to the right. We choose “Create a Chat Completion”

Here are clear, step-by-step instructions to generate an API key from Perplexity & add it to your Make scenario:
Note: you need a paid subscription ($20 per month).
- Log in to your account at perplexity.ai
- Click on the settings icon next to your username on the bottom left.
- On the top right, click API.
- You will need to buy credits ($5 goes a LONG way!).
- You generate an API key and copy it.
- Go back to Make, click “Add” in your Perplexity module, and paste it in.

As you can see above, I picked the sonar-pro model (you can pick another model), selected “User” under “Role”, and entered 800 tokens.
Note: you may need more tokens for your AI modules if you are generating long articles, but it’s easy to figure out on your own.
And we tell it to find facts for us on the topic, which is the H1 in our case.

Claude module
Next up is Claude.
We add a module and pick “Create a Prompt.”
For Claude, make the same selections under Role and Type as me (seen in the next screenshot)
In terms of the text, you can input some generic instructions, but this is one of the areas where you can (and should try to) shine once you go beyond test articles. You can customize some of this stuff in each article, like the H1 (pulled from Google Sheets) and the list of facts (pulled from Perplexity). And other things, like your voice/style, can be the same in every article.
Oh, and include the following in your prompt, so we can easily format the output:
“Please format the following content using Markdown syntax for headers and subheaders. Use # for main headers, ## for subheaders, and ### for sub-subheaders. This will allow me to easily paste the formatted text into Google Docs and have it automatically recognize the header structure.”
We pick 4000 tokens for Claude.

Here are clear, step-by-step instructions to generate an API key from Claude & add it to your Make scenario:
Note: just like Pereplexity, you need a paid subscription ($20 per month).
- Go to claude.ai and log in with your email.
- Click your email in the bottom left corner.
- Click “API Console”.
- You will need to buy credits (again, $5 goes a LONG way!).
- Go to “API Keys”.
- Click “Create Key” and copy your key.
- Go back to Make, click “Add” in your Claude module, and paste it in.
Google Docs module
Next, we add a Google Docs module and we pick “Create a Document from a Template.”
That takes us here. “AI Test” is the folder and “TEMPLATE Brief (Test)” is the template that will be used for the output each time this Make scenario is run. (Go and create your own folder and brief template now, and then come back 🙂)
Welcome back!
Now…
Take note of that Values field & orange-brown text that are pointed out – they won’t be available yet, but we will circle back in a couple of minutes!

Next, we have the title of the doc, which I’ve chosen to be Brief: [H1]. So every time you run this Make scenario, the title of the Google Doc will be in this format (choose whatever you want!).

Now… we want to add the orange-brown Claude color-coded block to the title field and copy (don’t cut) the text.
And we paste it in the Google Docs brief template.

Back in the Google Docs module, we see the “Values” field and add the Claude output. We go to the “Title” field and delete the Claude color-coded block.
Run the scenario
Now we run the scenario by clicking “Run once” on the bottom left.
And…
We have an article with markdown formatting.

Once you have markdown formatting, here’s how to clean it up:
- Use Chrome.
- Turn on the “markdown” feature.
- Tools ➡️ Preferences ➡️ Enable Markdowns
- Copy all the text below the brief table.
- Paste from Markdown.
And…

We did it!
If you made it this far, congrats 🥳
It’s an amazing feeling to successfully complete your first Make automation!
(If you don’t like the output, remember that you have a lot of ways to customize it to your liking AND this article promises one-click first drafts, not one-click ready-to-publish blog posts 😉)
What to do if something goes wrong?
I tried to include pretty much everything here, but you’re probably going to run into something and get an error message or output that is “off” in some way.
If that happens, ask ChatGPT or Claude for help. Or look under the hood and try to figure it out.
For example, if you run the automation and you think you picked the wrong color-coded block somewhere, you can click into the module, and get valuable data:

In the above screenshot, you can see that the Content block under the Message block is what you need to add to get the list of facts.
If you are really stuck, feel free to email me for help 🙂
Or to let me know where something is missing or could be clearer for the next person.
And try to look at things going “wrong” as an opportunity. This article is a great starting point, a great way to get some early positive reinforcement.
But the thing is, “failing” will help you learn all about how Make works.
Which is necessary if you want to build more complicated automations or customize (relatively) simple automations to your needs.
Just keep at it. That’s the key with anything.
Including AI.
